案 例:用ps给包装贴图。
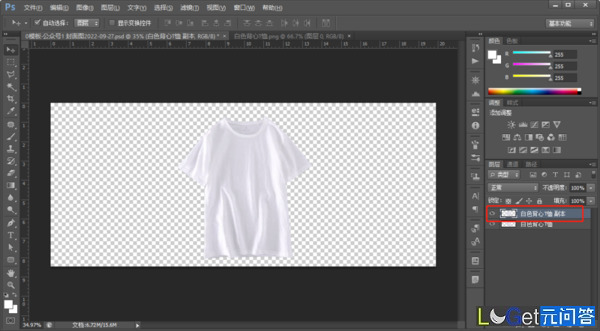
(1)打开photoshop软件后,我们将需要添加图案的白色t恤图片【置入】进来,并进行【栅格化】。
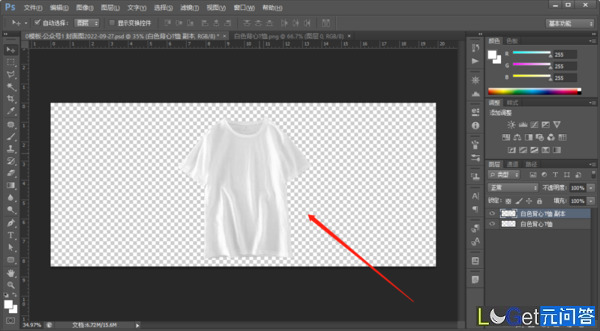
(2)在photoshop软件,我们按【ctrl+shift+u】去色。
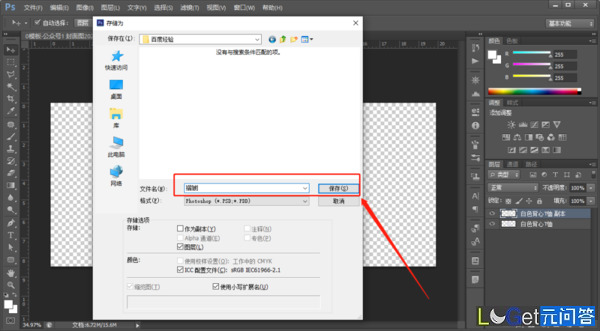
(3)我们按【ctrl+shift+s】,将它另存为psd文件,命名为【褶皱】。
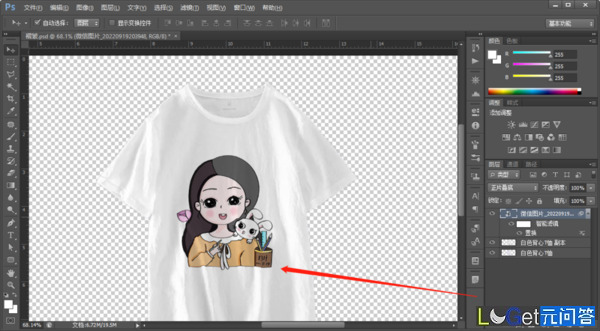
(4)我们将t恤上面要添加的图案图片【置入】进来。
(5)我们点击【滤镜】-【扭曲】-【置换】。
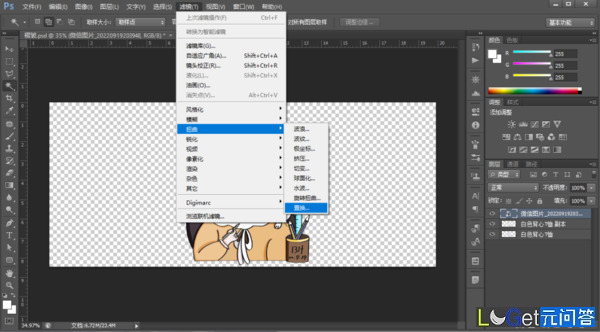
(6)我们选择刚才保存的【褶皱】文件。我们将混合模式改为【正片叠底】。这幅图的效果就做好了。
在上面的案例中,我们可以重点记住去色的快捷键是【ctrl+shift+u】;用到的滤镜是【滤镜】-【扭曲】-【置换】。