步 骤
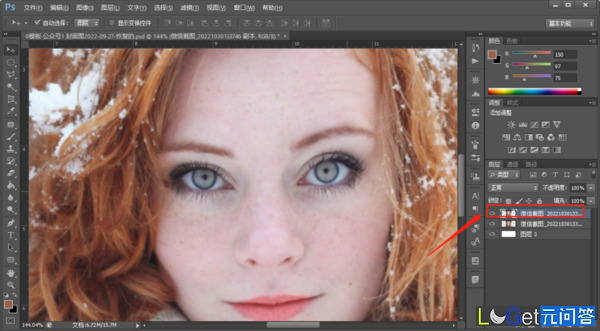
(1)我们打开photoshop软件,【置入】一张需要调整的人像照片。

(2)我们按【ctrl+j】将背景图层复制一层,方便操作。
(3)我们按【ctrl+i】将图层进行反相。
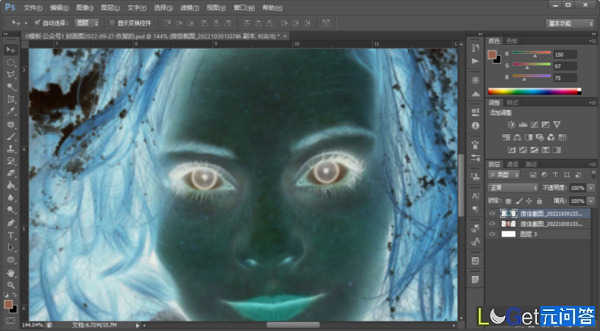
(4)我们将【图层混合模式】调整为【亮光】。
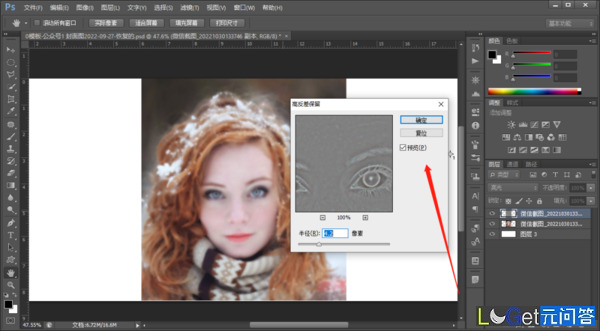
(5)我们选择【滤镜】-【其它】-【高反差保留】,适当调整数值。
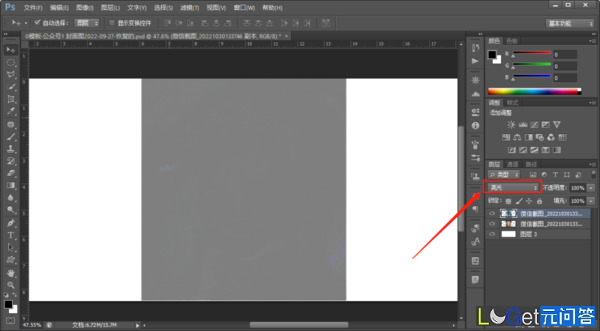
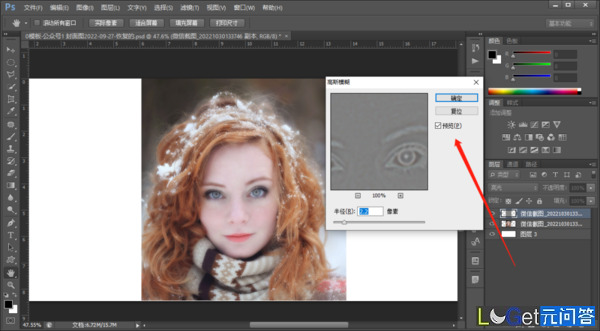
(6)我们选择【滤镜】-【模糊】-【高斯模糊】,适当调整数值。
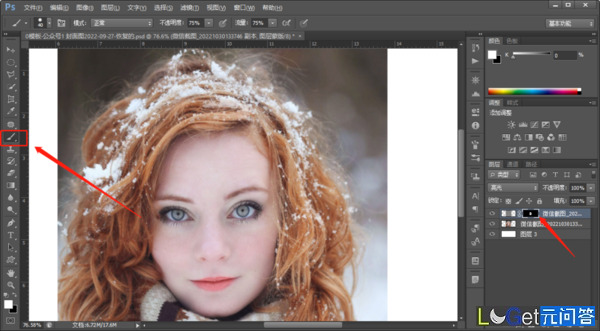
(7)我们按住alt,建立图层蒙版。

(8)我们用白色【画笔】,在图层蒙版上涂抹需要调整的部分,想要的磨皮效果就做出来了。我们还可以修改人物眼睛和头发的颜色。
在上面的案例中,主要用了【滤镜】-【其它】-【高反差保留】、【滤镜】-【模糊】-【高斯模糊】工具。